How I Got Instagram-Worthy White Teeth with Smile Brilliant

After a year and a half of braces-induced dental torture, I was finally able to smile freely without fear or insecurity. Nevertheless, I’ve found that although I brush and floss my teeth well thoroughly every day, as well as visit the dentist at least twice a year, my smile is not as bright or white as it could be. As a result, when I was approached by Smile Brilliant to try out their lab direct whitening service, I was extremely intrigued as to how it would work.

How Smile Brilliant Works
Unlike the whitening strips with which you might be more familiar, Smile Brilliant doesn’t use a bleaching method that strips your teeth of enamel, which greatly contributes to painful teeth sensitivity. More accurately, Smile Brilliant’s trays and gels work to remove stains from your teeth so that your teeth can be restored to their natural colour (which actually may not be truly white).
As well, studies over the past five years have shown that lab direct whitening, such as that provided by Smile Brilliant, is safe and effective with minimal side effects. A small percentage might experience mild sensitivity (caused by tooth dehydration, NOT enamel damage) and gum irritation; however, this can be easily alleviated by discontinuing or lessening the use of the Hi-Intensity Whitening Gel.
Do you suffer from sensitive teeth? Never fear— Smile Brilliant provides a Desensitizing Gel that works to decrease or completely eliminate the potential discomfort that the teeth whitening process might cause.
The Smile Brilliant Process
To start things off, Smile Brilliant sends you a package full of whitening and desensitizing gels, as well as moulding clay with which to create your tray impressions. I found that the visual step-by-step instructions provided were extremely informative and helpful.

Step 1: Create Tray Impressions
I must admit that this was the hardest part for me to do. After reading the instruction brochure for creating the impressions, I was extremely worried that I would mess them up badly. For instance, you must ensure that you properly time each step or you might create a faulty impression. Also, you need make sure that the clay impressions set properly or they will fall apart. In the end, I realized that it was much easier than I had anticipated— I managed to mix the clay together and create decent impressions that would create trays that would perfectly fit my upper and lower rows of teeth. Even if you do mess up, you are provided with extra clay paste or you can request more.
Step 2: Ship Impressions to the Smile Brilliant Lab
In order to get your teeth trays created, Smile Brilliant provides you with a self-addressed, postage-paid envelope with which to send the impressions in. I found their level of service to be extremely good— I was given email updates on the progress of my impressions on a regular basis (ex. when they arrived at the lab, whether the trays were up to standard, and when the finished trays were being sent back to me).

Step 3: Start Using Whitening and Desensitizing Gels
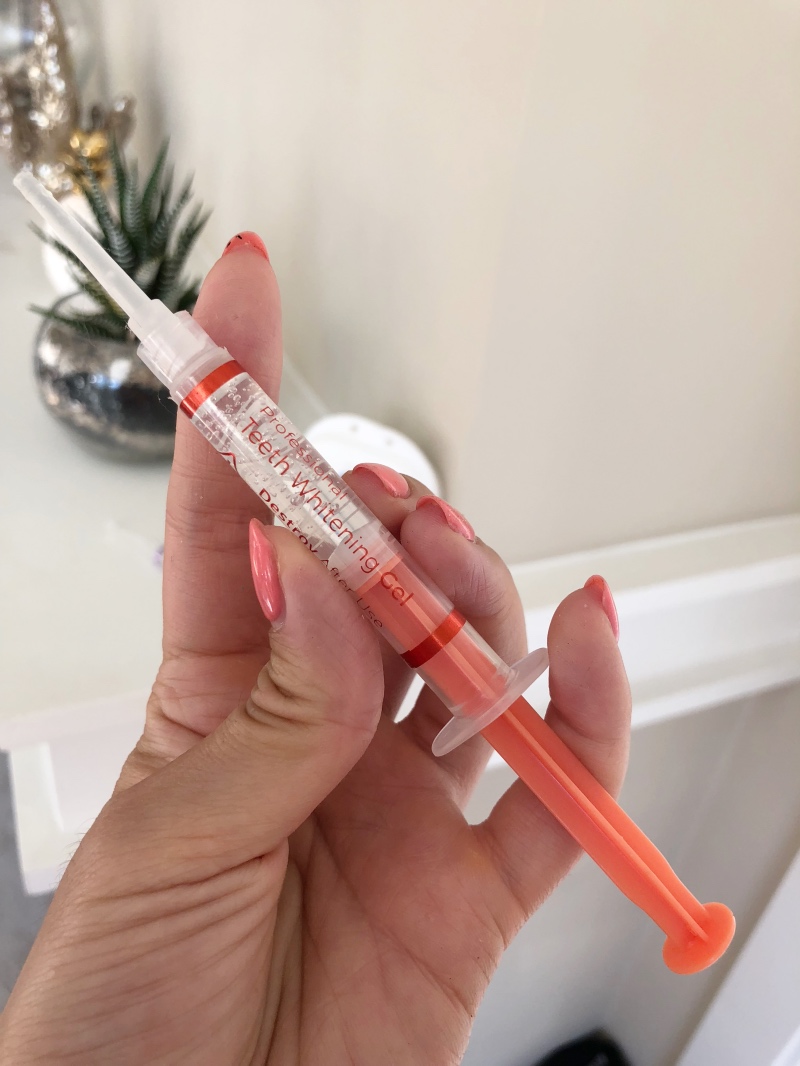
When I received my teeth trays, I was surprised to find that they were soft and malleable (unlike the retainers I had after my braces). Using the injection-needle-like whitening gel, I put a thin layer of gel over the front, outward section of the teeth tray (so that the visible parts of your teeth are most targeted). Once again, the instruction brochures provided easy steps accompanied by clear pictures to demonstrate the correct procedures.

To start, you would carefully floss and brush your teeth WITHOUT toothpaste. After, you would start using the whitening gel. Initially, I only used the gel for the minimum amount of 45 minutes in order to adapt to it. Also, while the maximum usage time is about three hours, I would usually whiten my teeth for about an hour each time in order to avoid teeth sensitivity. Following that, I would properly brush my teeth with a non-whitening toothpaste, clean and dry the trays, and then apply the Desensitizing Gel onto them. The final step would include using this gel for 15 to 20 minutes, spitting out the excess gel, and leaving a thin layer on your teeth.

Pro-Tip: Use a thin layer of coconut oil or Vaseline on your gums throughout the whitening process.
Step 4: Enjoy Your Whiter, Stain-Free Smile!
For the best results, it’s highly recommended that you whiten your teeth before bedtime so that you don’t ruin the process with any staining food or drinks. It’s also suggested that you avoid consuming coffee, tea, dark coloured soda, red wine, berries, candy, beets, chocolate, or any other staining foods for 24 hours after a teeth whitening session. Needless to say, I failed to abstain from coffee for the full 24 hours since I’m such an addict to it (how do we survive those early mornings in the office without it?).
Throughout this entire process, my Smile Brilliant contact remained in touch via email— she provides helpful tips and constantly reminded me that she was there to help me in any way regarding the whitening process.
In general, the average person requires at least 7-14 applications before all of the stains are removed from their teeth. I found that my teeth saw noticeable results after about 7 to 8 applications. Since then, I’ve lessened my applications to once every 3 or 4 days.
The Verdict: A Whiter, Brighter Smile!
And-- voila! The end result you've been waiting for...
Overall, I was extremely pleased with how the process has brightened my smile. As seen in the above photos, there is a hugely noticeable difference in my teeth colour. The “Before” photo showed some definite yellow stains from daily consumption of coffee and other staining foods. As you can see, the “After” photo is incredibly whiter!
In general, I found Smile Brilliant’s service to be thorough, fast, efficient, and friendly. Additionally, studies are now showing that the effects of lab direct whitening is similar if not more effective than laser whitening at the dentist office. However, laser whitening usually costs anywhere between $500 to $1000— while Smile Brilliant’s service is a fraction of those prices! Consequently, I would highly recommend their services and products for anyone who wants to improve their smile.
Well? What’s Stopping You?
Now that I’ve used Smile Brilliant, I feel even more confident smiling now I know that I have a wonderfully white smile. A whiter smile is perfect for anything from a big event to just boosting your general confidence. If you would like to know more about Smile Brilliant’s services, feel free to check out their website or Instagram page.
As well, my valued readers get a special deal! If you should wish to start using Smile Brilliant, I have a couple of surprises for you:
As well, my valued readers get a special deal! If you should wish to start using Smile Brilliant, I have a couple of surprises for you:
- Take advantage of a 15% off coupon code: thestylishwordsmith15
- Giveaway link: www.smilebrilliant.com/g/thestylishwordsmith
- The giveaway is for a $149 Smile Brilliant credit. It is open for 1 week (7 days after blog post date) and open to USA, UK, Australia and Canadian residents.
In the meantime, you can bet that I’ll be taking as many Instagram-worthy selfies and close-ups as I can of my smile and bright teeth!
Cheers,
The Stylish Wordsmith
Tooth Whitening Gel
The change is really nice
ReplyDeleteA new post : https://www.melodyjacob.com/?m=1